Graphics Engine
SAE Engine C++
How do I make my final scene?
Intro
I’ve done a lot of different things in this project, and I’m going to use them all to make a final scene. I’m going to use the following:
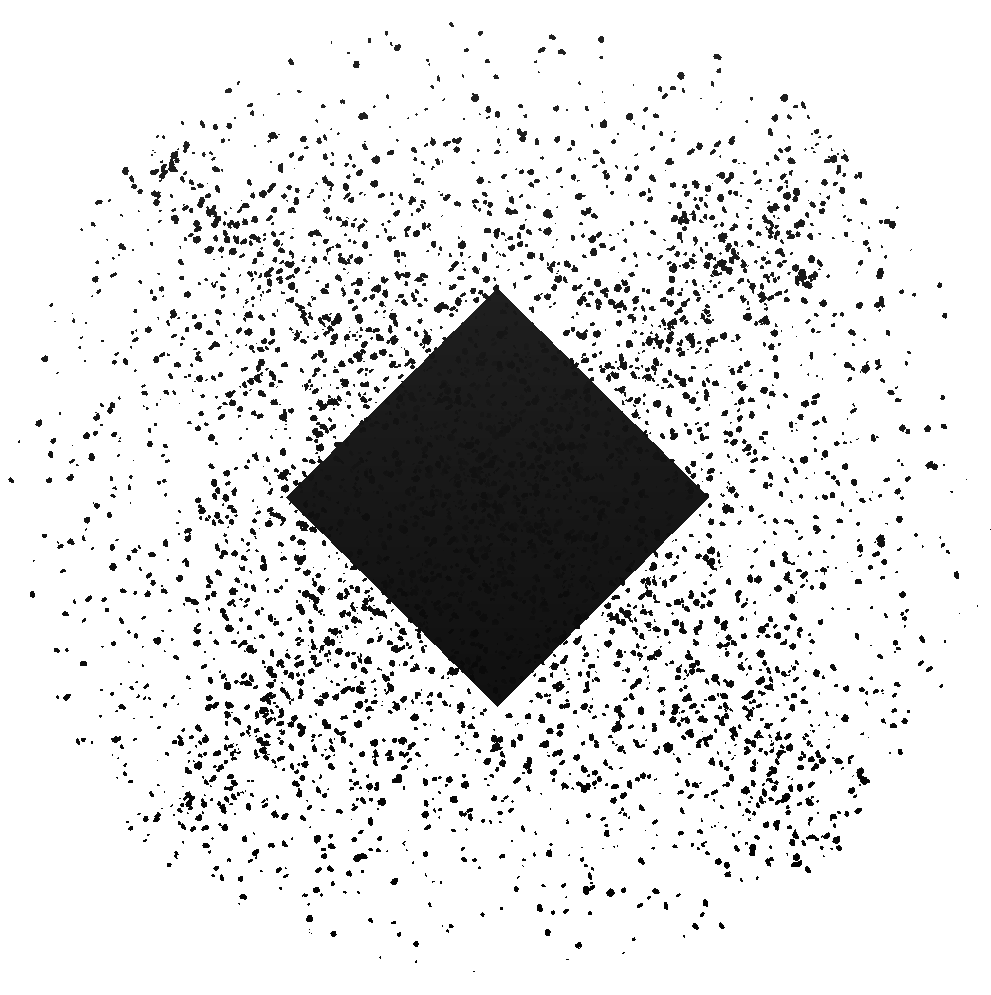
- Instancing with rocks
- Deferred shading
- Ssao
- Shadow map
- PBR
- IBL
- Directional light
- Bloom
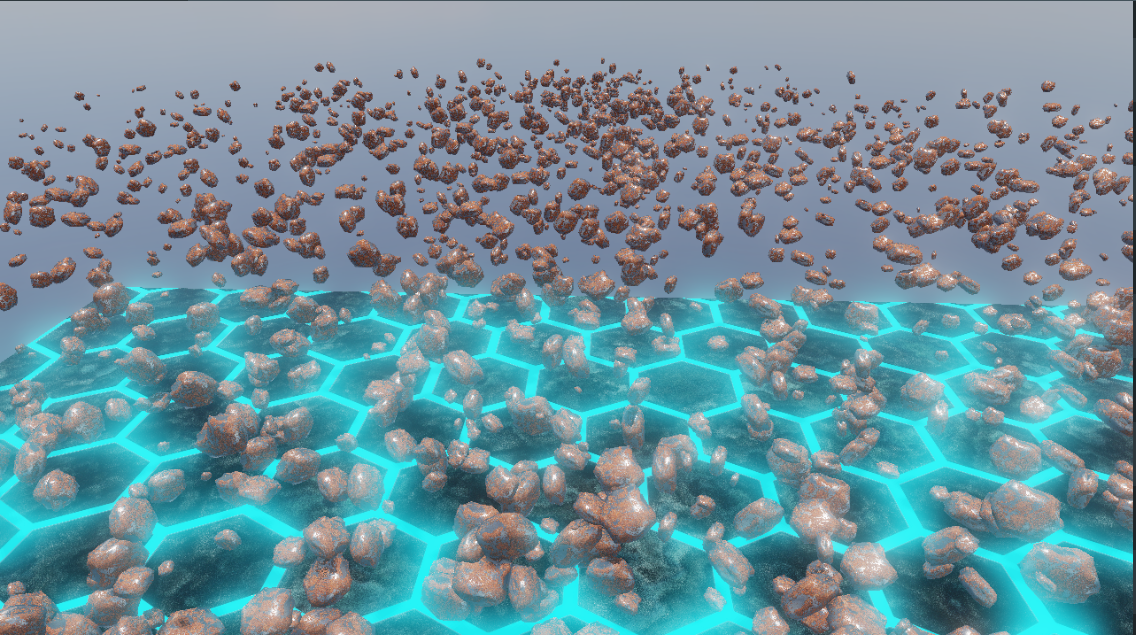
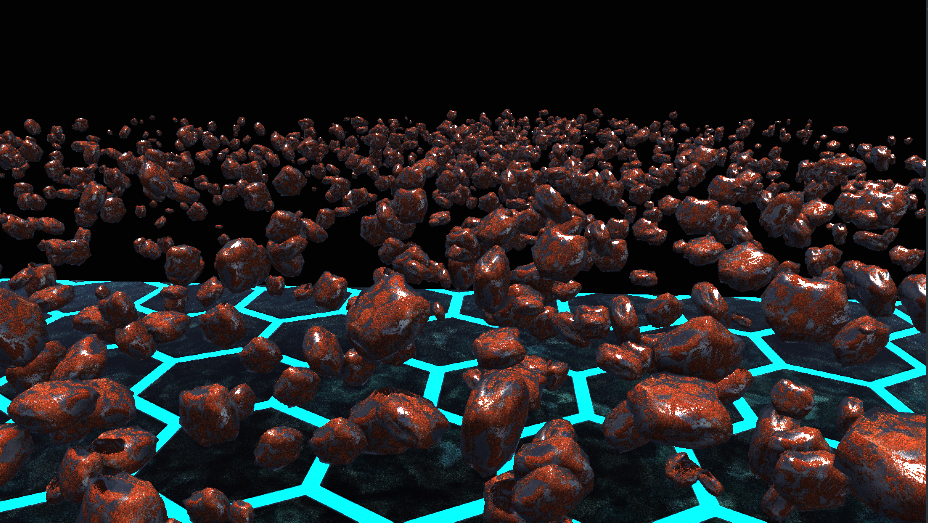
So I’m going to make a scene with 5’000 rocks with rusty PBR material, a skybox, and a sunlight. I’m going to use the shadow mapping and SSAO to make the scene more realistic. To see shadows, I’m going to put a ground plane. The ground plane has a hexagonal emissive pattern to make the scene more interesting, yet completely unrealistic. The shadows are more visible on other rocks than on the ground plane sadly.
It looks like this:
Instancing with rocks
I’ve already made a rock model, and I’ve already made an instancing system. I’m going to use the instancing system to render 5’000 rocks. I use the same model but with different transformations (as position, rotations, and scales) to make the rocks look different.
With instancing, I need to put in my shader a model matrix for each instance. I’m going to use a uniform buffer object
to store all the model matrices.
Like these lines in the vertex shader:
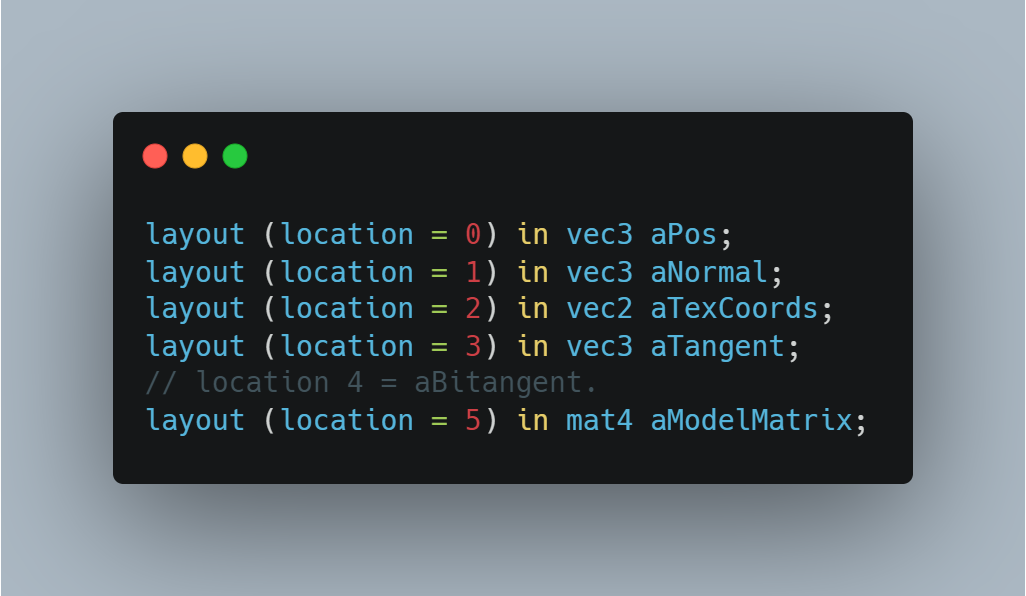
I use the aModelMatrix attribute to get the model matrix for each instance.
In order to do that, at the start of the program, I generate a model matrix buffer object in my model class:
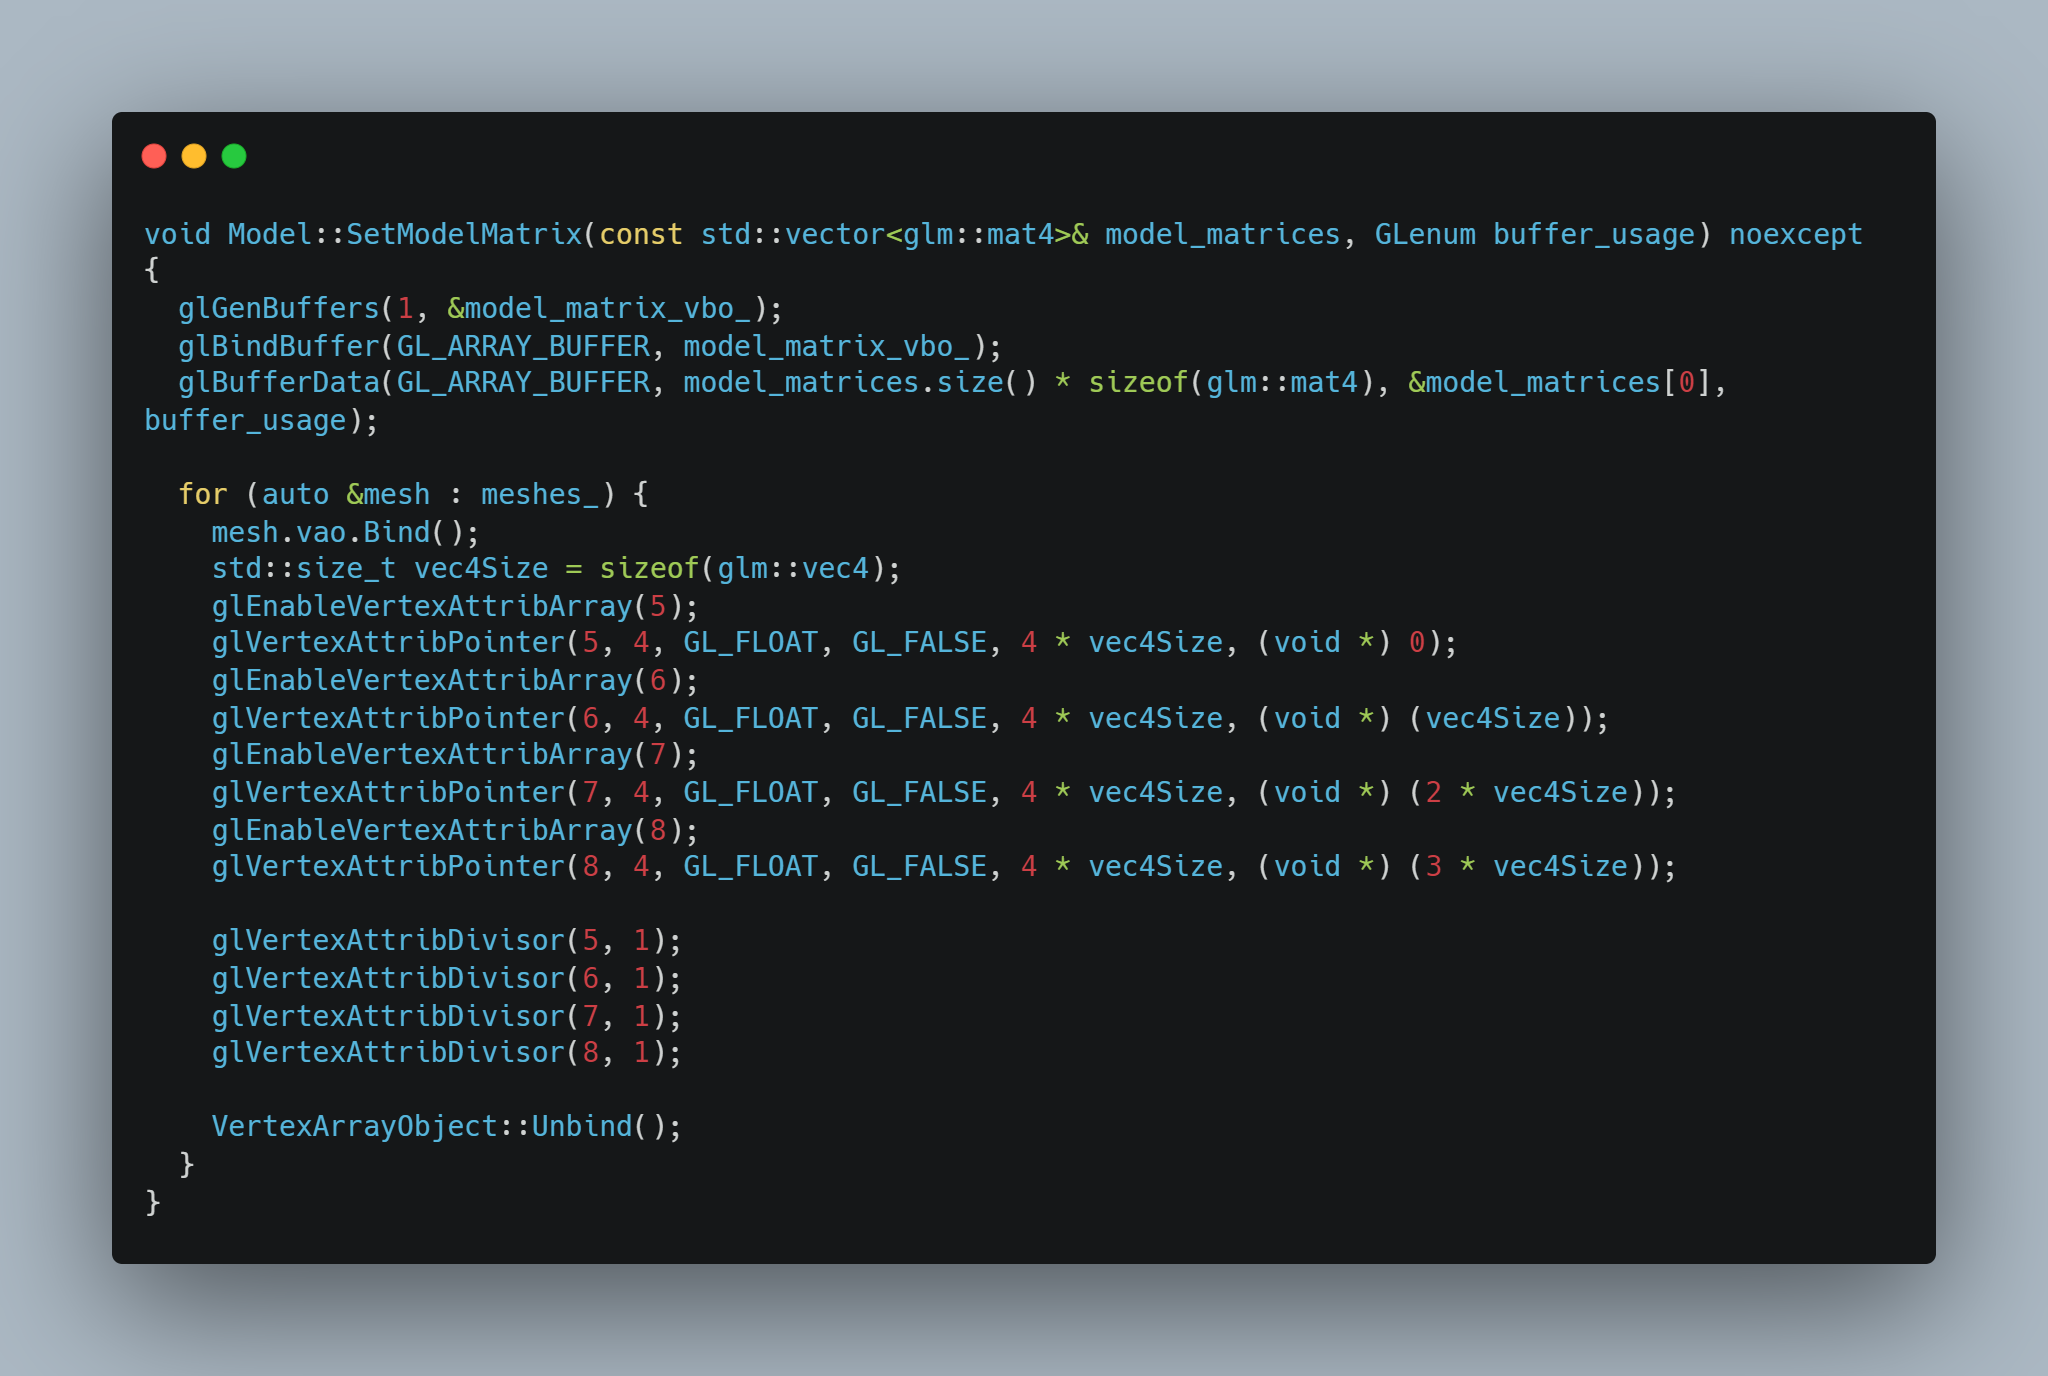
I divide the matrix into 4 vec4 and use glVertexAttribDivisor to tell OpenGL to update the attribute every 1 instance
because shaders doesn’t support arrays of matrices.
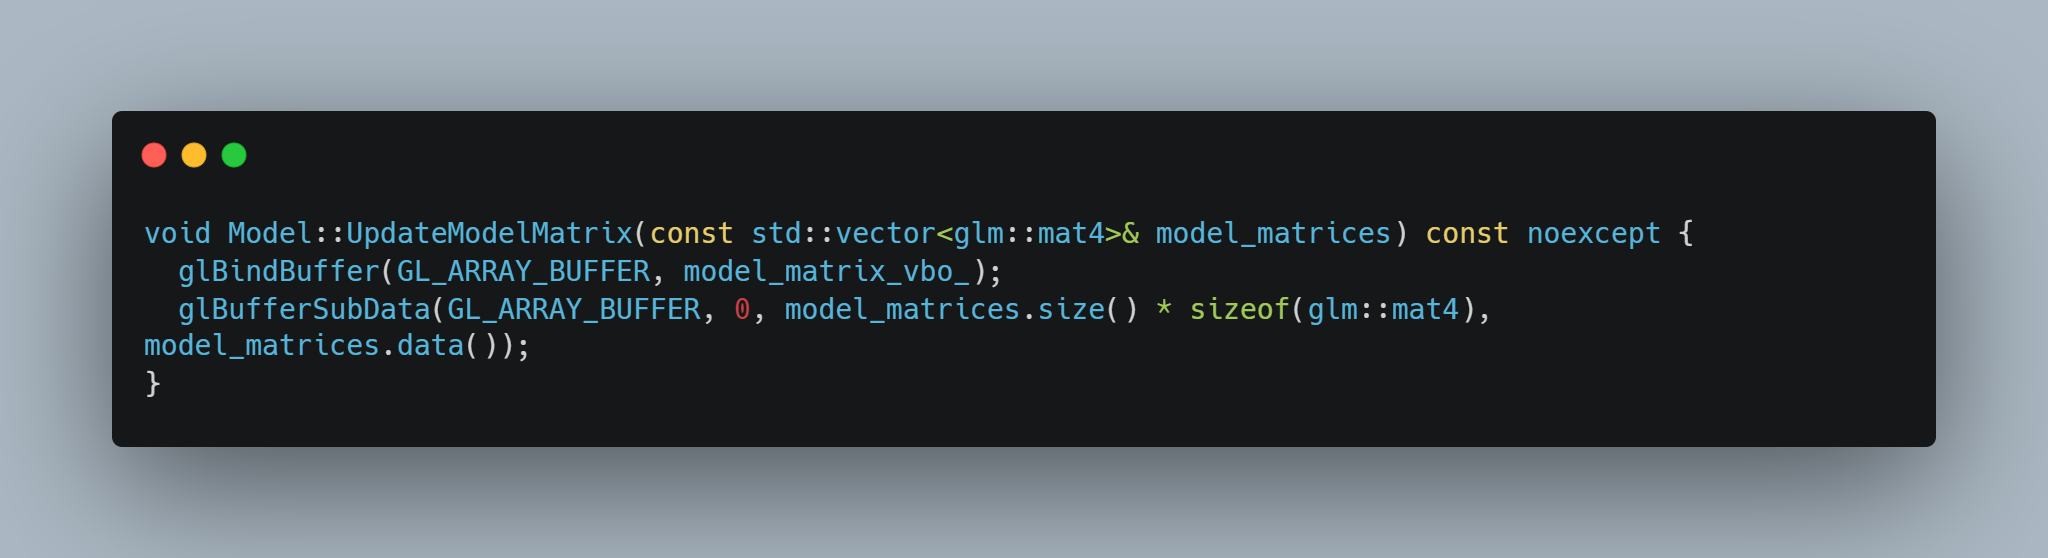
On update, I update the model matrix buffer object with the new model matrices.
For other objects, I use another shader that doesn’t use instancing.
At start, I was using frustum to only render the rocks that are in the camera view. But I’ve noticed that the frustum culling is not necessary because the instancing is already very fast. So I’ve removed the frustum culling.
Deferred shading
I use a GBuffer to store information like position, normal, albedo, and metallic/roughness. I use a framebuffer to store the GBuffer.
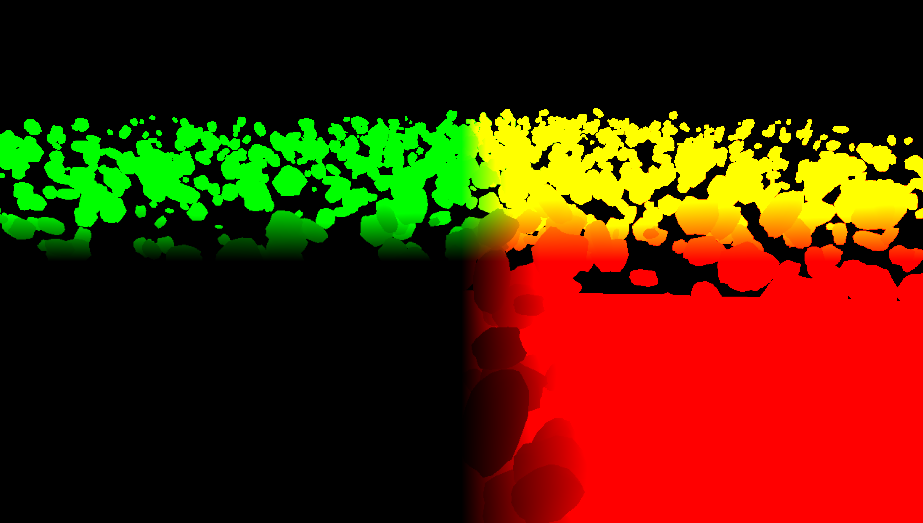 The normal and roughness (in alpha) are stored in the same texture
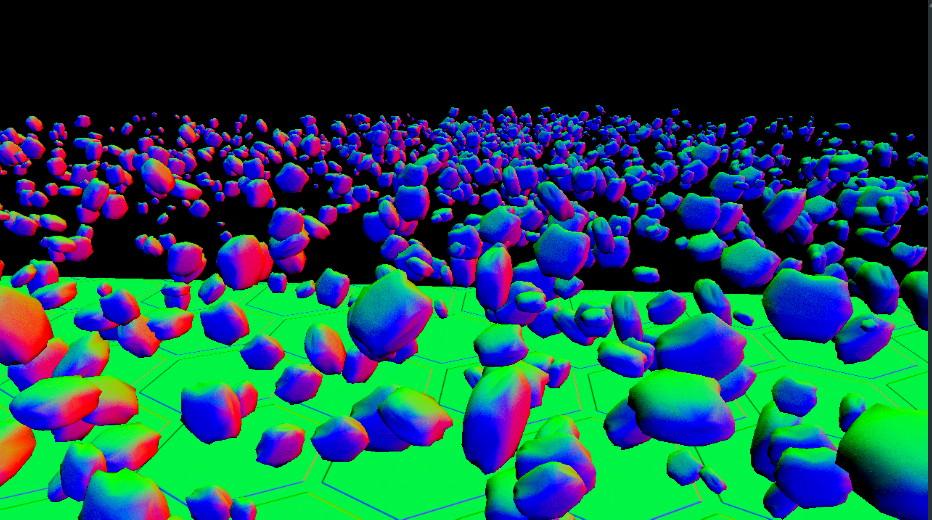 The albedo and ao are stored in the same texture
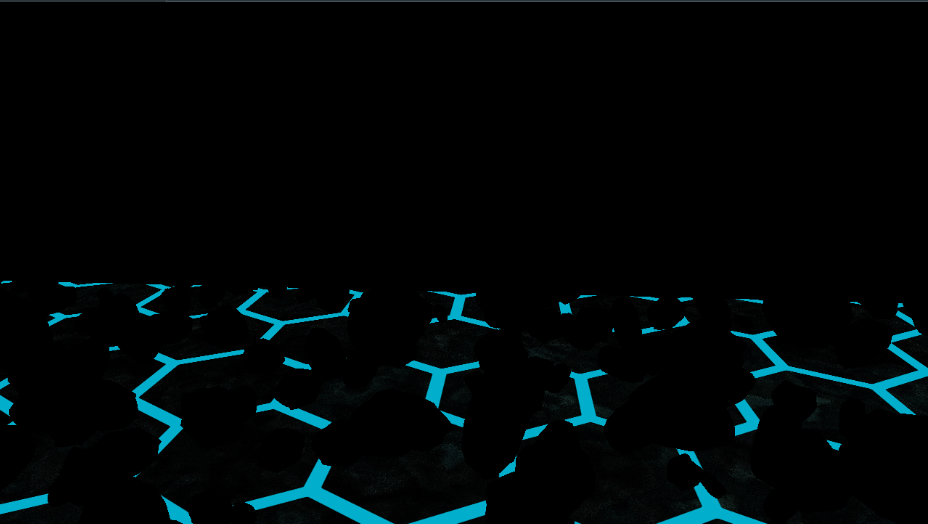
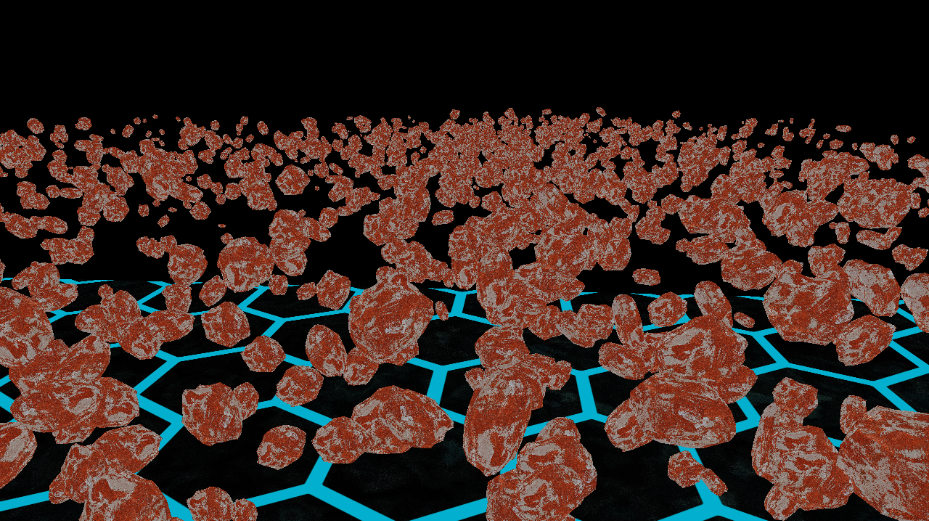 The emissive texture is stored in this texture
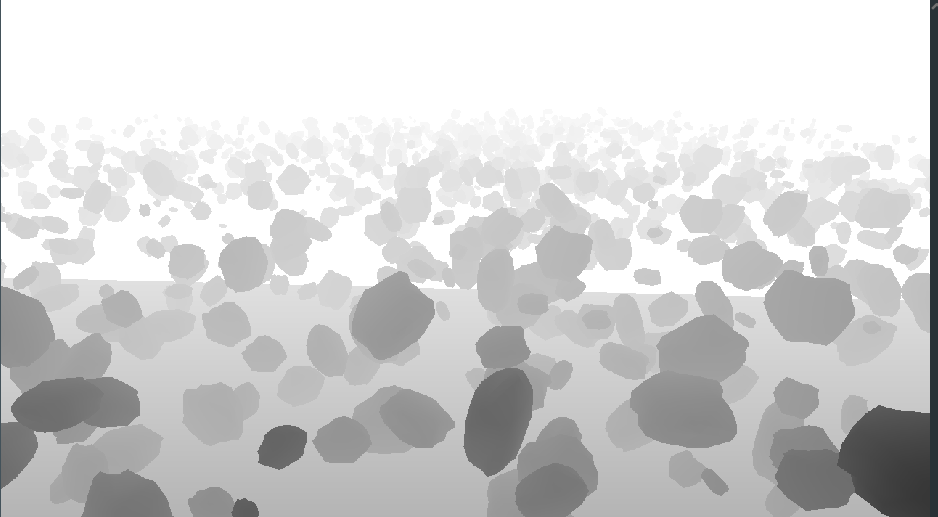
 To finish, I store the depth in this texture
I use them later to calculate the lighting when all the objects are rendered.
SSAO
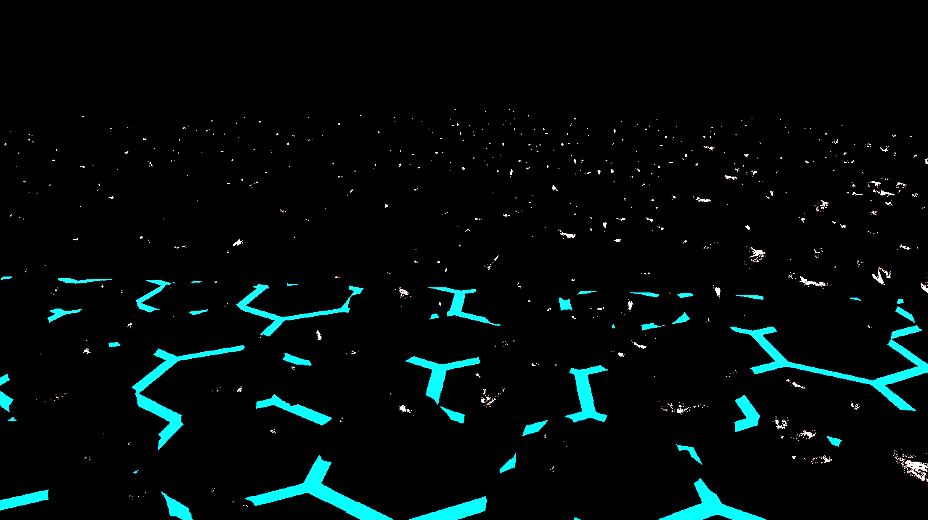
I use SSAO to make the scene more realistic. I use a framebuffer to store the SSAO texture.
It’s used to calculate the ambient occlusion for each fragment and apply it to the final image with a small noise texture.
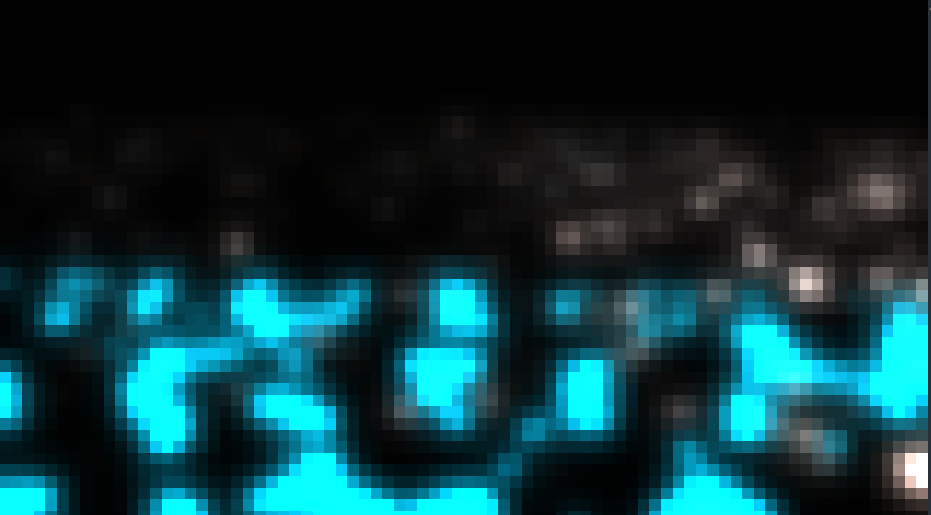
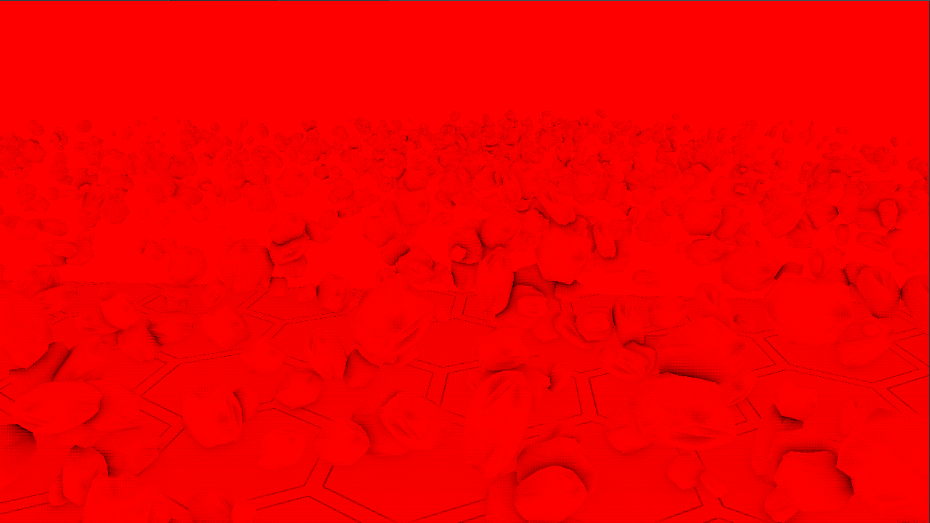
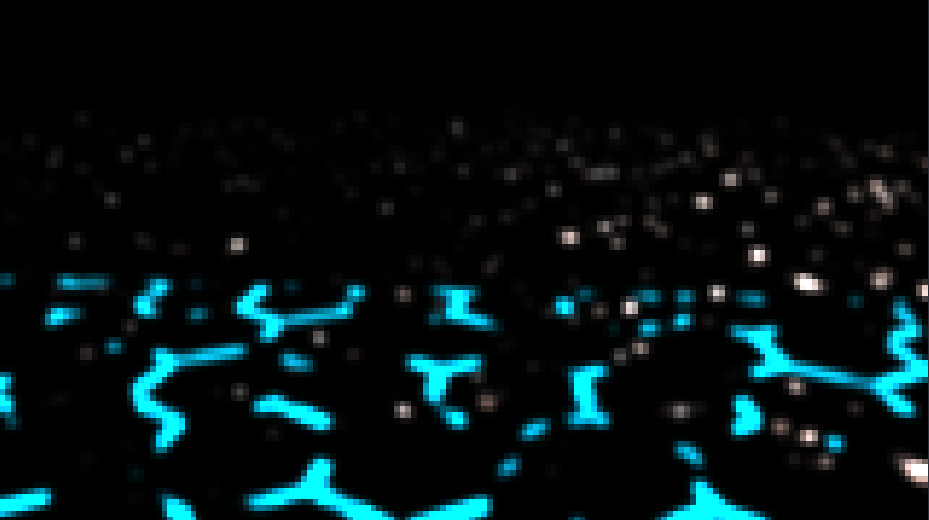
The first pass:
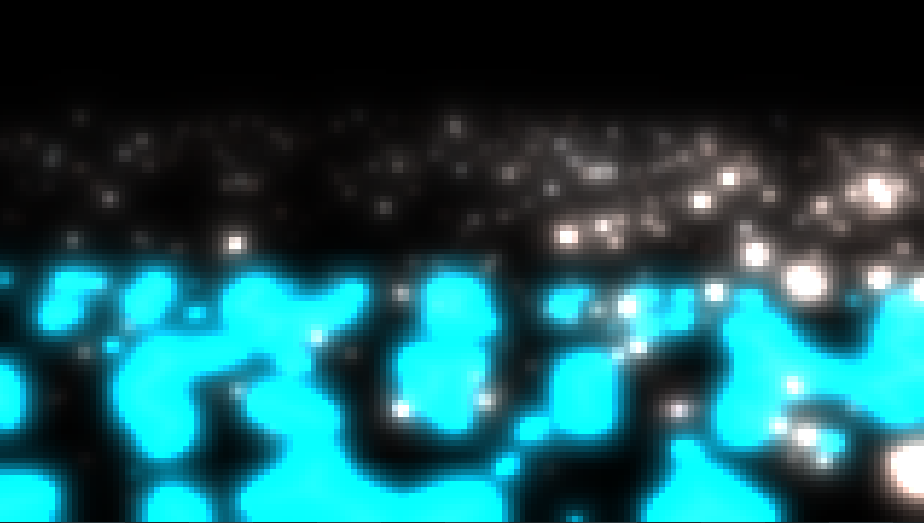
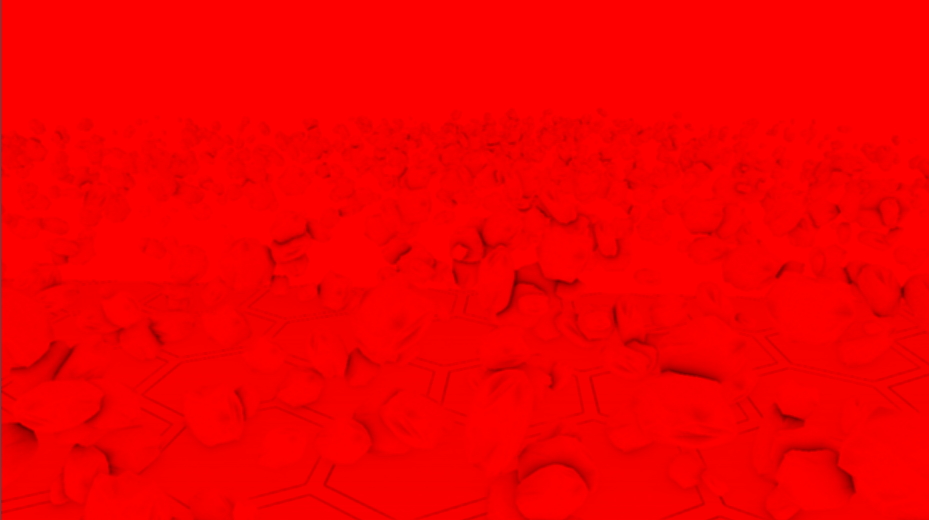
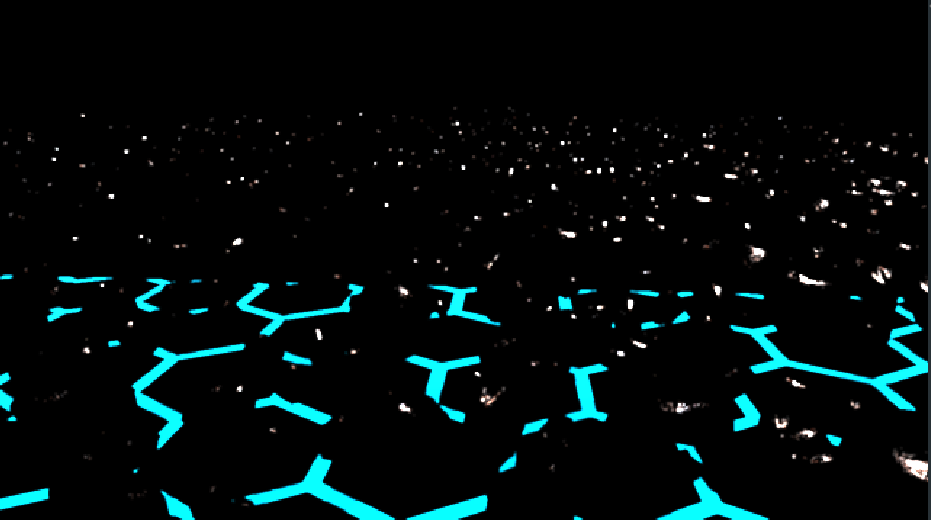
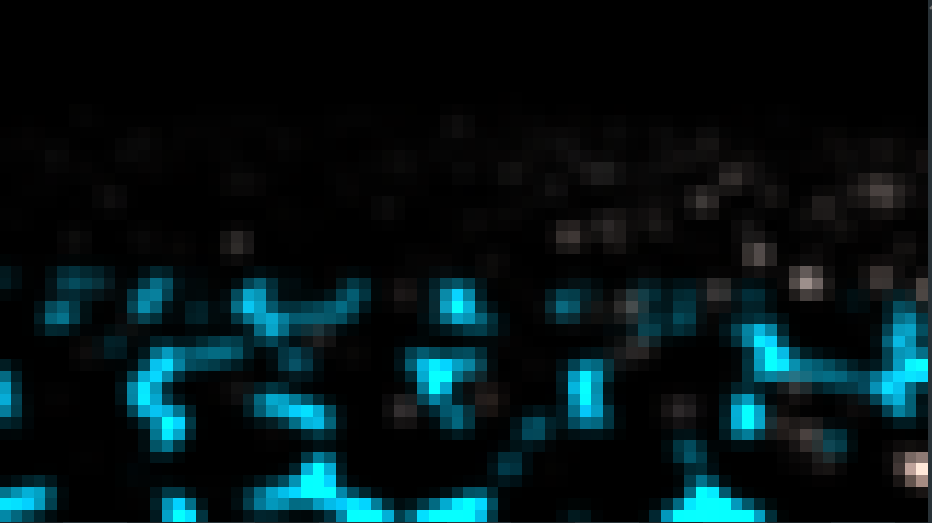
Then, the second pass, it’s blurred a bit from the first pass:
Shadows
For shadows, I use shadow mapping.
So first, I render all objects in the scene in a framebuffer with the depth texture attached. Then, I create the shadow map as a texture from the depth texture.
Then, I render the scene using the shadow map to calculate the shadows for each fragment.
Since my scene is huge, I use shadow map of 24’576x24’576 pixels because otherwise, the shadows are too pixelated.
I only need to calculate it one time since every object are static.
PBR
I use PBR to make the rocks look realistic by calculating the lighting with the IBL and the directional light. Cube map lighting is used to calculate the IBL.
All the textures are send to the shader to calculate the lighting for each fragment, it output these textures:
IBL
I use a cube map to store the lighting information for the IBL and use it to calculate the lighting for each fragment.
Directional light
I use a directional light to simulate the sunlight. I use the shadow map to calculate the shadows for the directional light.
Bloom
After all the lighting, I apply a bloom effect to the final image to make the scene more interesting. The bloom effect is applied to the final image with a small threshold to make the bright parts of the image glow.
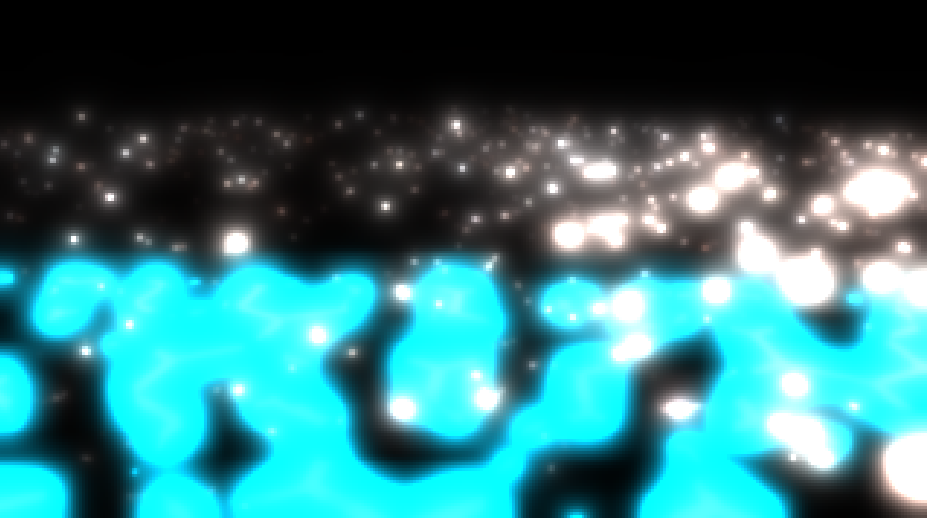
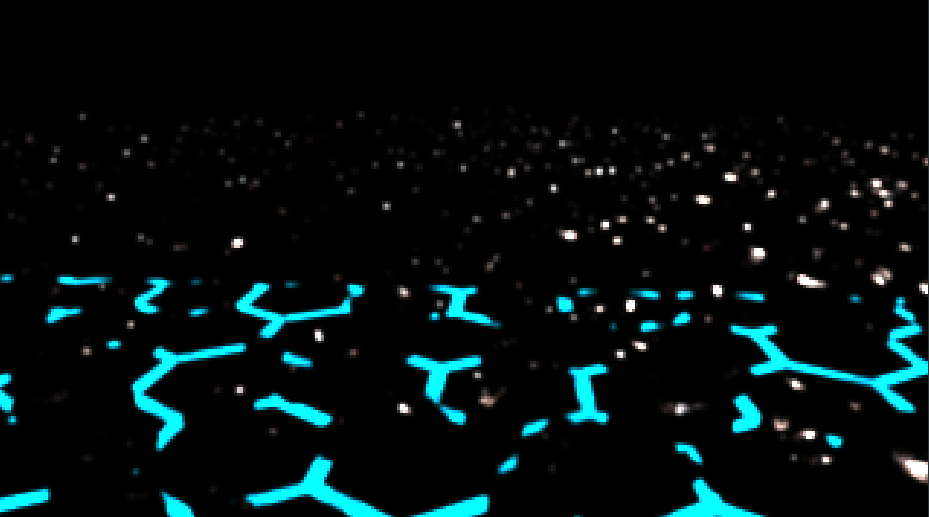
The blur pass:

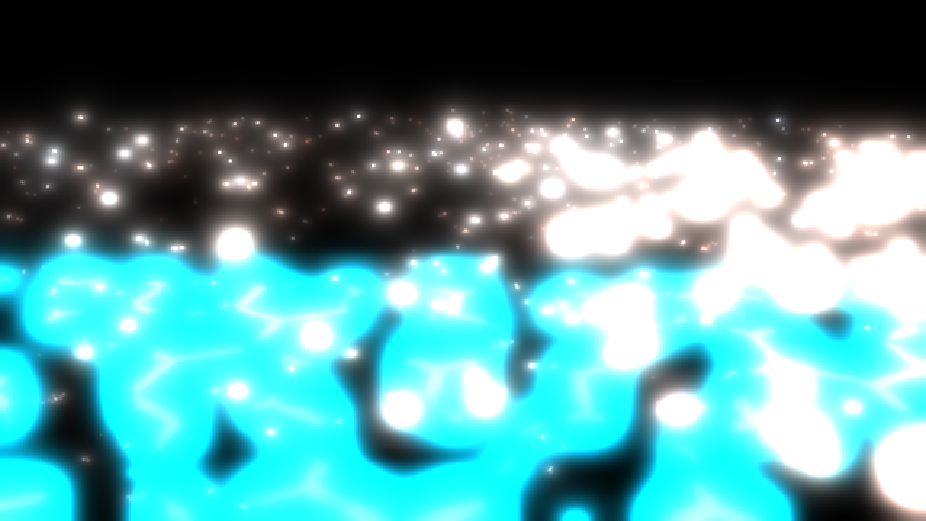
The bloom effect is applied to the final image: